
How to install modpacks?
An easy to follow tutorial on how to get some major modpacks and mods onto your server and make them functional!
How to Install a Minecraft Modpack
This guide explains how to install a Minecraft modpack on both your own computer and your server.
A modpack must usually be installed in two places:
- Client side: your Minecraft launcher, used by the player
- Server side: your server files, used by the multiplayer server
If the client and server do not match, you may be unable to join the server.

What You'll Learn
- How to install a modpack on your computer
- How to install a modpack on your server
- How to use the Modpack Installer
- How to use the Single Mod Installer
- How to check Minecraft, loader, and Java versions
- How to fix common modpack problems
Before You Start
Before installing the modpack, open the modpack page on CurseForge, Modrinth, or the provider’s website.
Write down these details:
| Detail | Example |
|---|---|
| Minecraft Version | 1.20.1 |
| Mod Loader | Forge |
| Mod Loader Version | 47.2.0 |
| Modpack Version | 2.8.4 |
| Recommended RAM | 6 GB |
The most important rule is simple:
Your server and your launcher must use the same Minecraft version, mod loader, and modpack version.
If one side is different, the server may crash or players may see missing mod errors.
Client Side vs Server Side
The client side is the player’s Minecraft launcher.
The server side is the server running inside your panel.
| File Type | Client Side | Server Side |
|---|---|---|
| Mods that add blocks, mobs, items, or dimensions | Required | Required |
| World generation mods | Required | Required |
| Server performance mods | Usually not | Usually yes |
| Minimap mods | Yes | Usually no |
| Shader packs | Yes | No |
| HUD or UI mods | Yes | No |
| Resource packs | Sometimes | Sometimes |
Do not upload client-only mods to the server unless the mod page says they are server-compatible.
Part 1: Install the Modpack on Your Computer
Players must install the modpack on their own computer before joining the server.
Option A: Install with CurseForge
This is the easiest method for most players.
- Download and open the CurseForge Launcher.
- Click Minecraft.
- Search for your modpack.
- Click the modpack.
- Choose the correct modpack version.
- Click Install.
- Wait for the download to finish.
- Click Play.
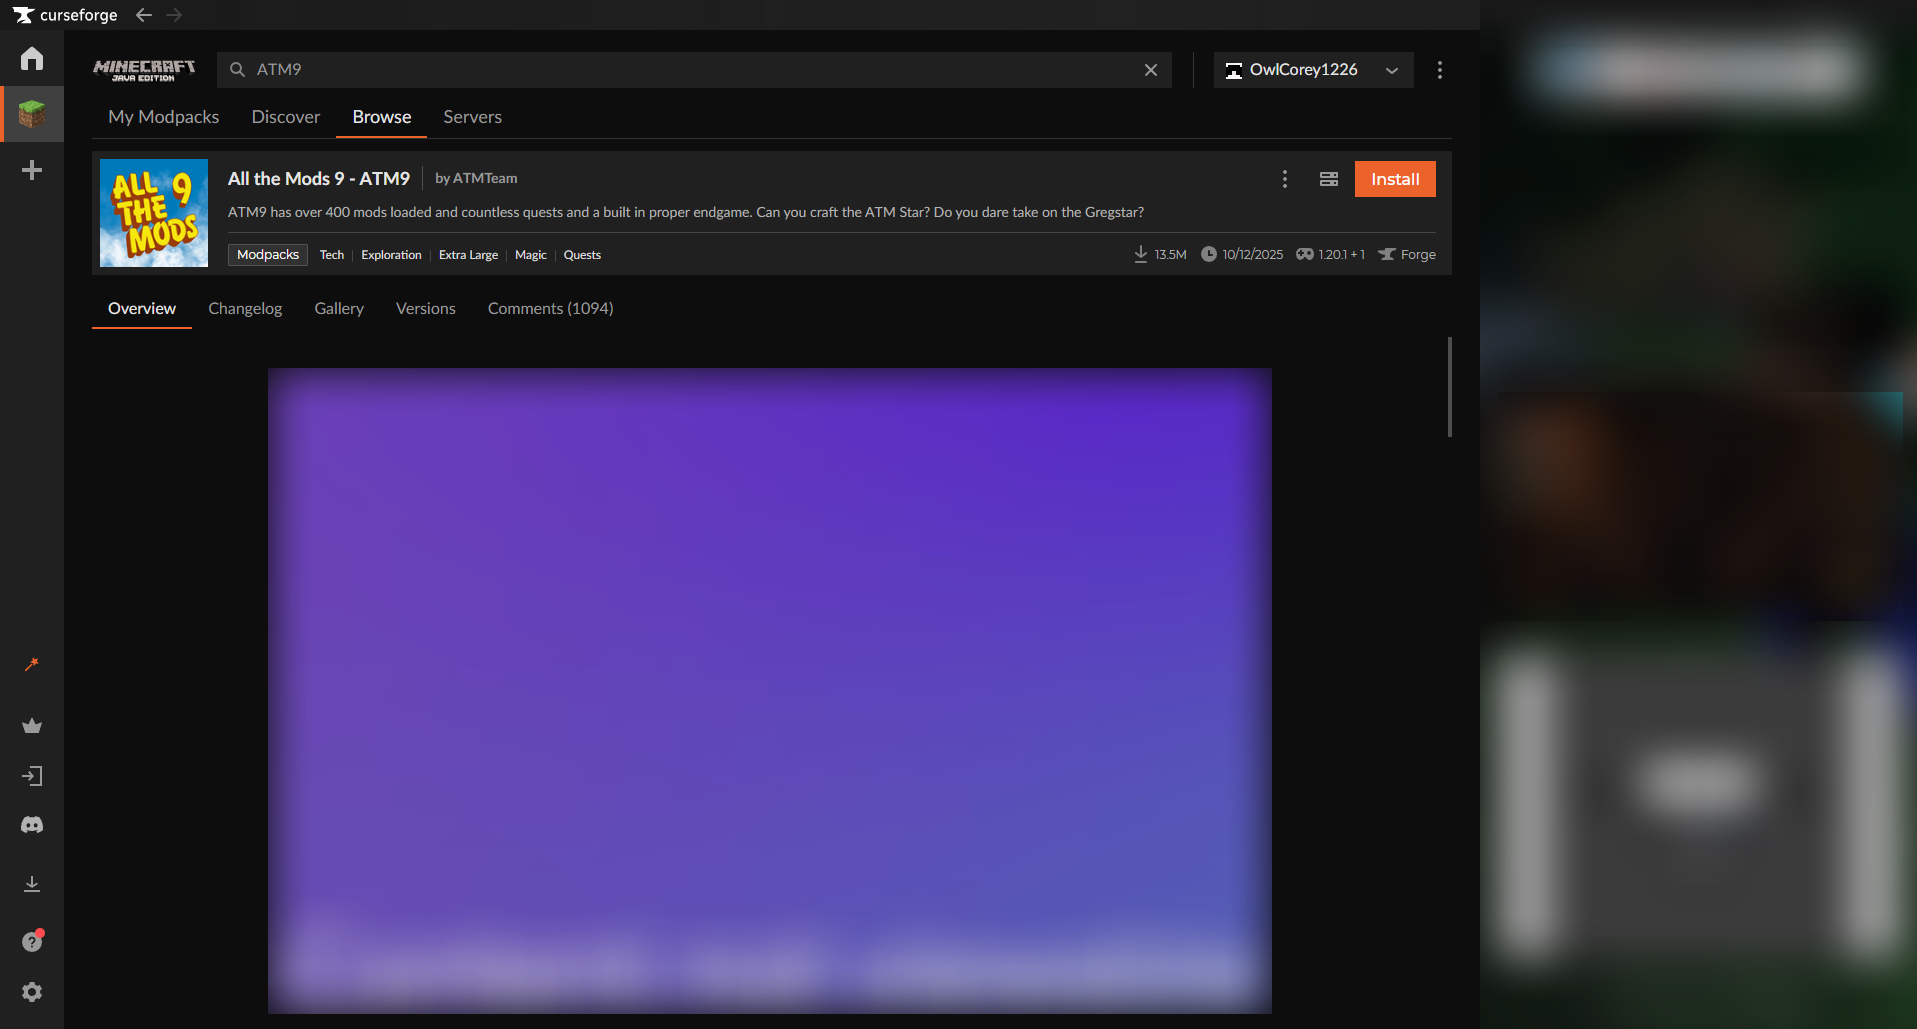
Once Minecraft opens, do not change the modpack version unless the server is updated too.
Option B: Install with Modrinth
Use this if your modpack is hosted on Modrinth.
- Download and open the Modrinth App.
- Click Browse or Search.
- Search for the modpack.
- Select the correct Minecraft version.
- Select the correct modpack version.
- Click Install.
- Launch the modpack.

Option C: Manual Client Install
Only use this method if the modpack does not support a launcher.
- Install the correct Minecraft version.
- Install the correct loader:
- Forge
- Fabric
- NeoForge
- Quilt
- Open your Minecraft folder.
- Place mod
.jarfiles into themodsfolder. - Place config files into the
configfolder. - Start Minecraft using the modded profile.
Common Minecraft folder locations:
| System | Folder |
|---|---|
| Windows | %appdata%\.minecraft |
| macOS | ~/Library/Application Support/minecraft |
| Linux | ~/.minecraft |
Part 2: Install the Modpack on Your Server
Now install the server-side version of the modpack.
Step 1: Stop the Server
Before changing files, stop the server.
- Open your server panel.
- Select your Minecraft server.
- Go to Console.
- Click Stop.
- Wait until the server is fully offline.
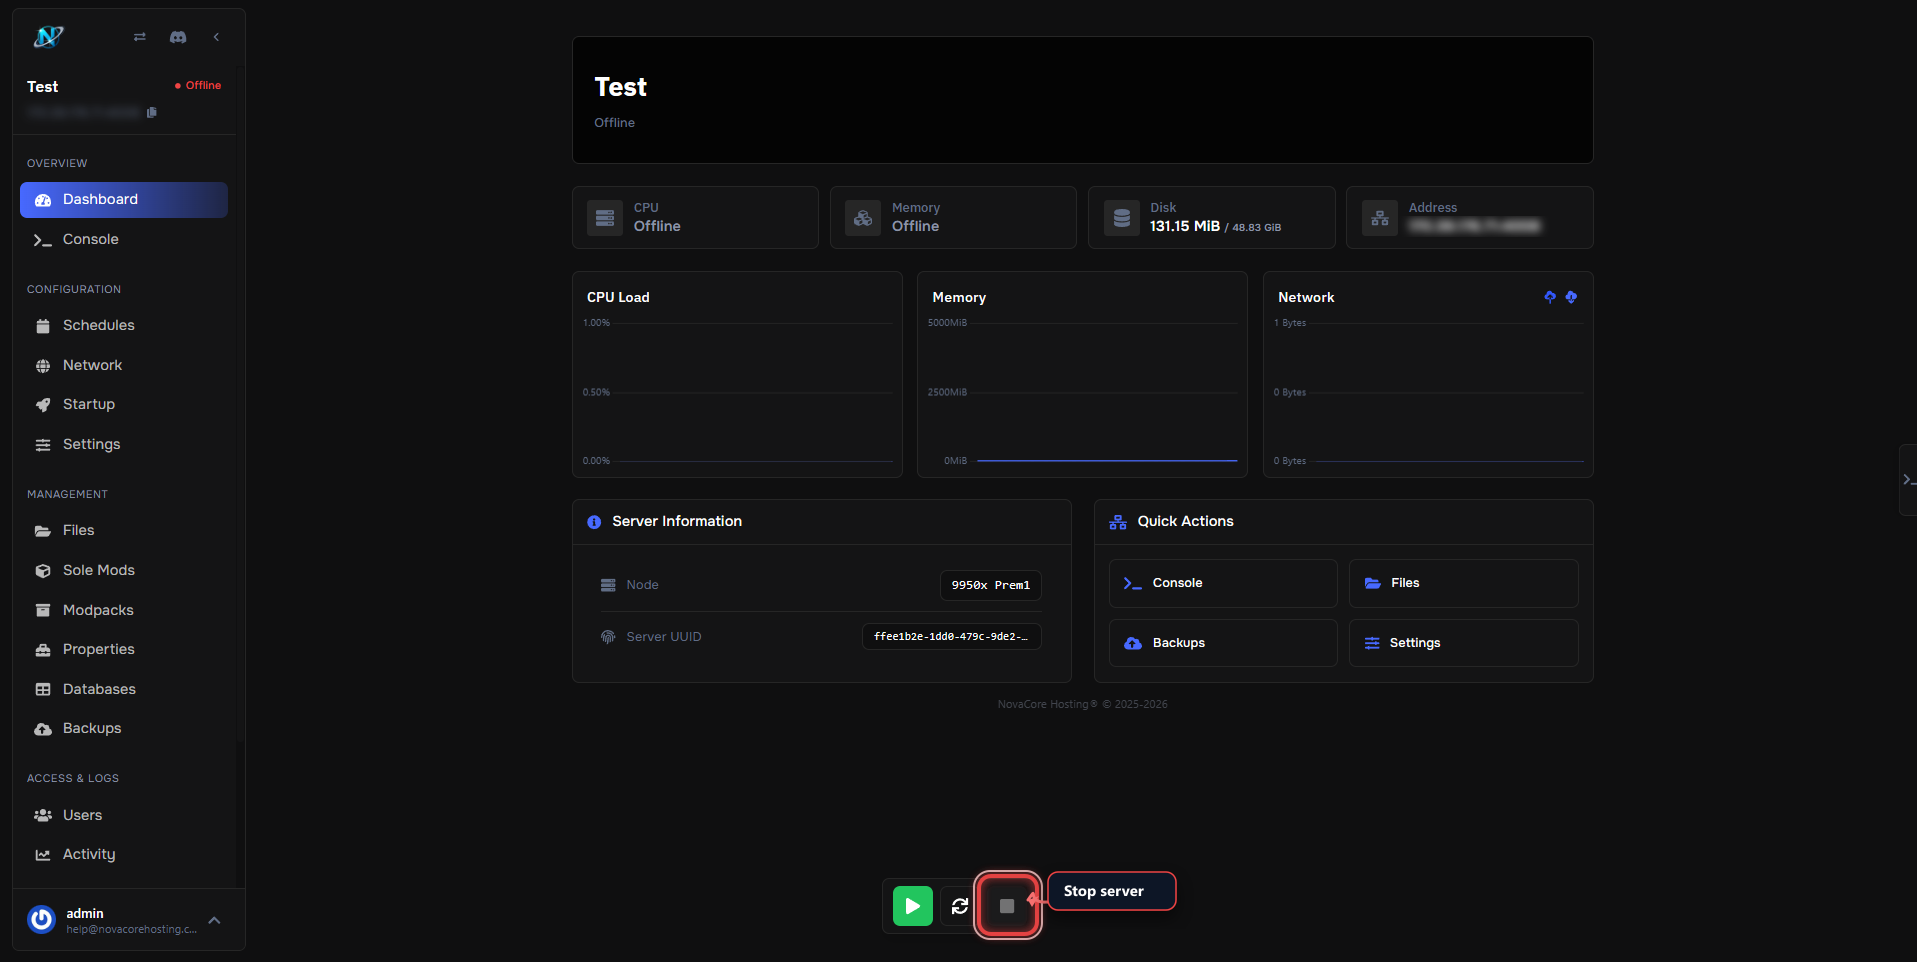
Do not install or delete modpack files while the server is running.
Step 2: Create a Backup
Always create a backup before installing a modpack.
- Go to Backups.
- Click Create Backup.
- Wait for the backup to finish.
- Confirm the backup appears in the list.
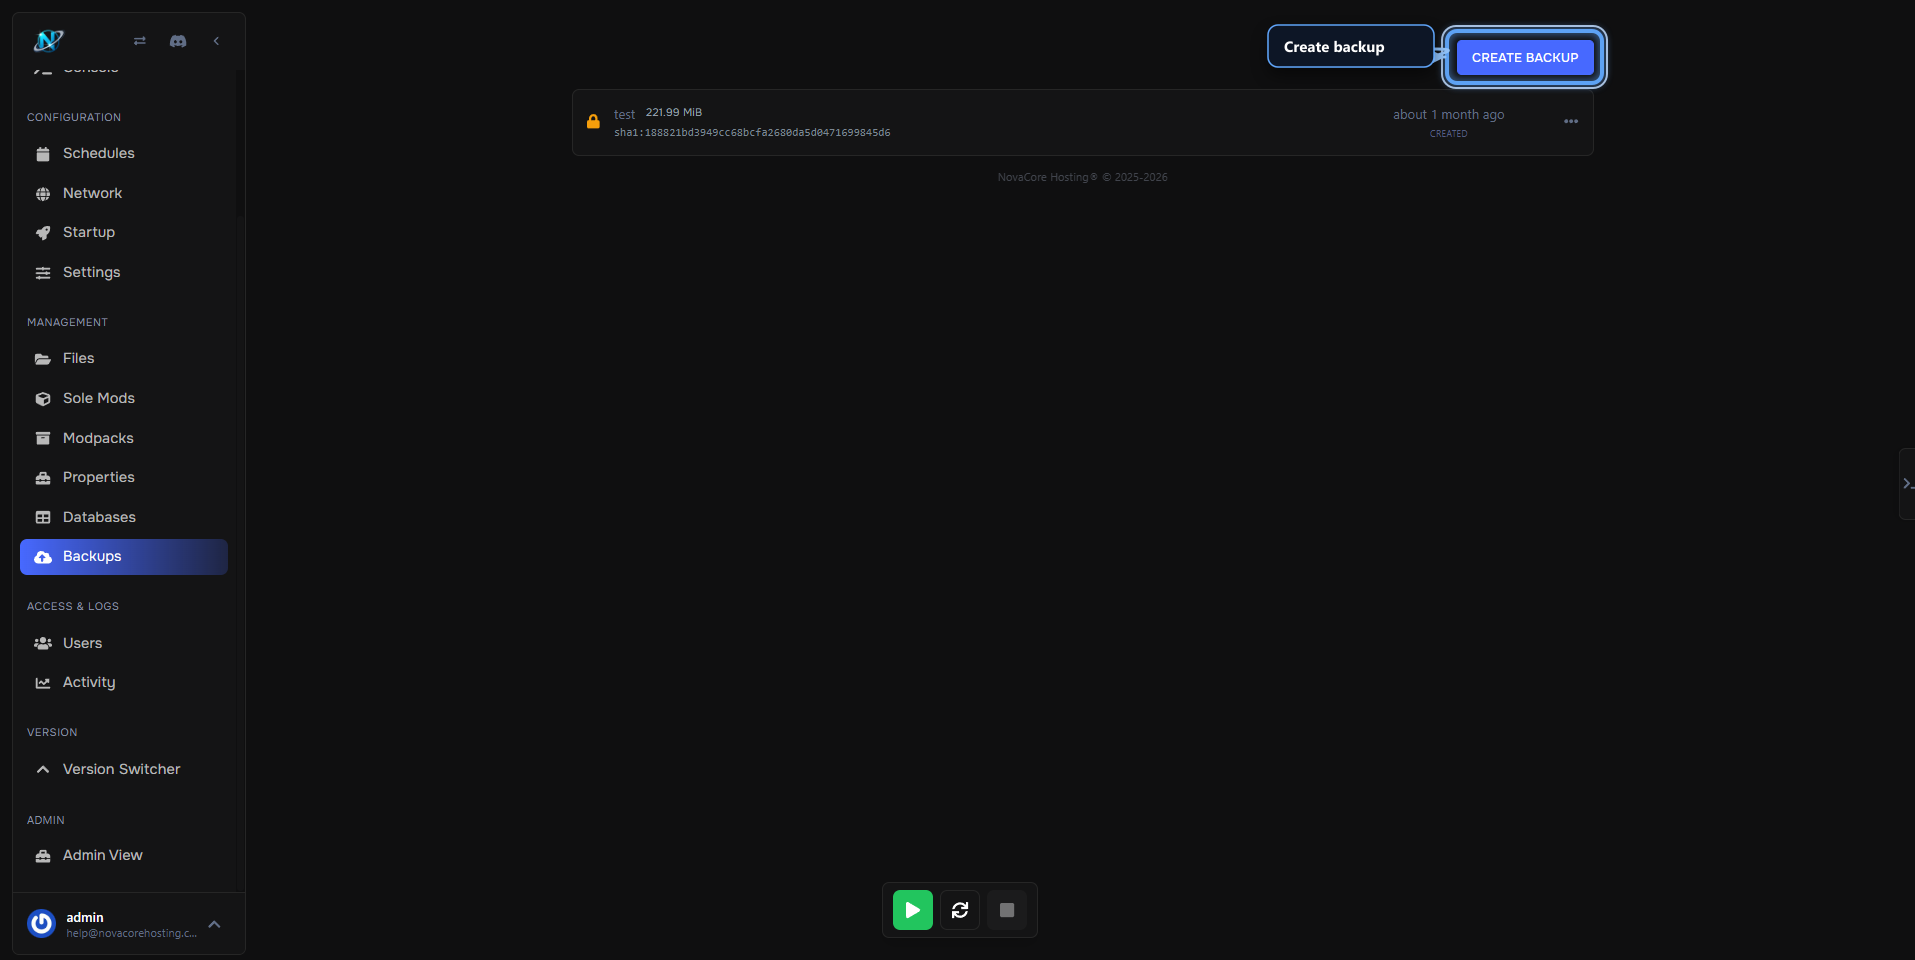
This lets you restore the server if the wrong version is installed.
Step 3: Use the Modpack Installer
Use the Modpack Installer when installing a full modpack.
- Open your server panel.
- Go to Modpack Installer.
- Search for the modpack name or paste the modpack URL.
- Select the correct modpack.
- Choose the correct modpack version.
- Confirm the Minecraft version.
- Confirm the loader type.
- Click Install.
- Wait for the installation to complete.
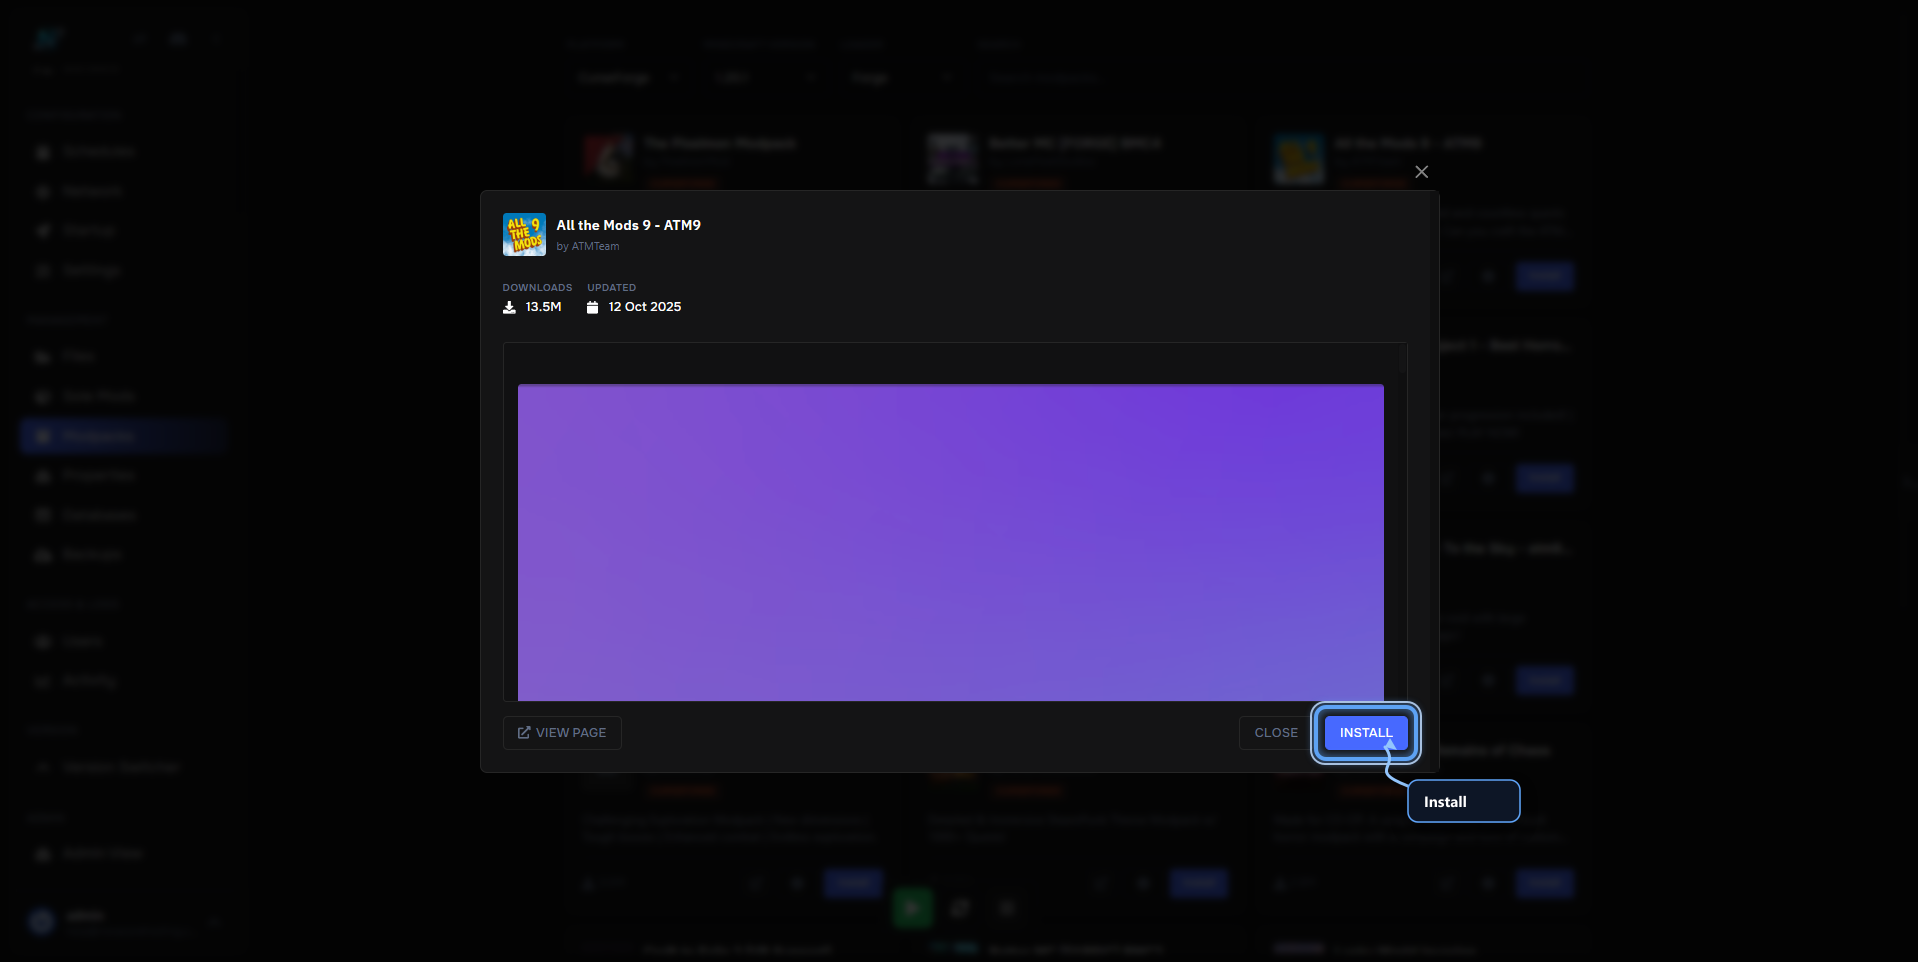
The installer will usually add the required:
- Mods
- Config files
- Libraries
- Server jar or loader files
- Startup files
Step 4: Check Startup Settings
After installing the modpack, check the startup settings.
- Go to Startup.
- Check the server type.
- Check the server jar.
- Check the Java version.
- Save any changes.

Use this as a general Java guide:
| Minecraft Version | Recommended Java Version |
|---|---|
| 1.16.5 and older | Java 8 or Java 11 |
| 1.17 to 1.20.4 | Java 17 |
| 1.20.5 and newer | Java 21 |
If the wrong Java version is selected, the server may crash immediately on startup.
Step 5: Accept the Minecraft EULA
If this is a fresh install, you may need to accept the Minecraft EULA.
- Go to Files.
- Open
eula.txt. - Change this:
eula=false